
Dynamic Microphones:
These microphones use a moving coil within a magnetic field to generate an electrical signal. They are known for their robustness, ability to handle high sound pressure levels, and are often used for live performances and recording loud sources like drums and guitar amplifiers.
- Characteristics:
- Robust and durable: Can withstand high sound pressure levels (SPL) and rough handling, making them ideal for live performances.
- Less sensitive: Require a stronger sound source or higher gain from a preamp. This also means they pick up less background noise and room reflections.
- More directional: Typically have a cardioid polar pattern, focusing on sound directly in front and rejecting sound from the sides and rear.
- No need for external power: Passive operation.
- Generally less expensive than condenser microphones.
- Best Uses:
- Live sound: Vocals on stage, close-miking drums (snare, toms, kick drum), guitar and bass amplifiers, brass instruments. Their ability to handle loud sounds and reject off-axis noise is crucial in live settings.
- Recording loud sources: Excellent for capturing the punch and attack of drums and amplified instruments without distortion.
- Noisy environments: Their lower sensitivity helps to isolate the desired sound source.
- Broadcasting and voice-over: Some dynamic mics are well-suited for voice applications, offering a focused sound with good noise rejection (e.g., Shure SM7B).
Condenser Microphones:
These microphones use a capacitor to convert sound into an electrical signal. They are typically more sensitive and have a wider frequency response than dynamic microphones, making them ideal for studio recording of vocals, acoustic instruments, and capturing subtle details. They require phantom power to operate.
- Characteristics:
- Highly sensitive: Capable of capturing subtle nuances and quieter sounds.
- Wider frequency response: Generally, capture a broader range of frequencies, resulting in a more detailed and natural sound.
- Lower self-noise: Produce a cleaner signal with less inherent noise.
- Require phantom power: Need an external power source (usually 48V) to operate their internal electronics.
- More fragile than dynamic mics.
- Can have various polar patterns: Cardioid, omnidirectional, bidirectional (figure-8), and switchable patterns, offering versatility in different recording situations.
- Best Uses:
- Studio recording: Vocals, acoustic instruments (guitar, piano, strings), drum overheads and room ambience, percussion. Their sensitivity and detail capture the richness of these sources.
- Podcasting and broadcasting: USB condenser mics offer convenience and quality for spoken words in controlled environments.
- Field recording: Small diaphragm condensers are often used for capturing ambient sounds and nature sounds due to their sensitivity.
- Choirs and orchestras: When a detailed and spacious sound capture is desired in live settings.
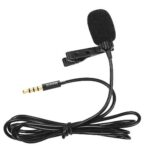
Lavalier Mic: These are small, clip-on microphones designed for hands-free use. They are commonly used in television, film, theater, and public speaking. They can be condenser or dynamic, but condenser types are more common due to their smaller size and good sensitivity.
Ribbon Microphone: These microphones use a thin aluminum ribbon suspended in a magnetic field. Sound waves cause the ribbon to vibrate, generating a signal. Ribbon mics are known for their warm, natural sound and smooth high-frequency response. They are often bidirectional (picking up sound from the front and back) and were historically delicate, though modern versions are more robust.
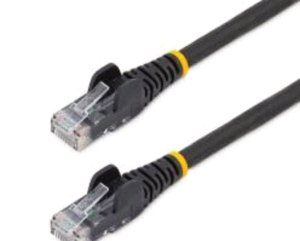
XLR Cables: Industry standard for balanced audio connections 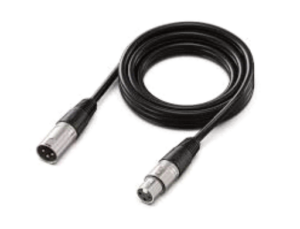
Speakon Cables: Used to connect speakers to amplifiers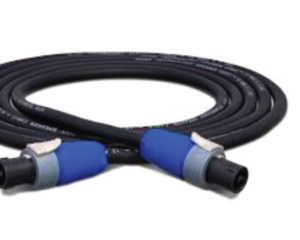
 Used for connecting instruments to mixers and other audio devices
MIDI Cables: Used to connect musical instruments to each other and to computers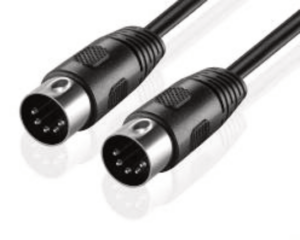
Ethernet Cables: Used for digital audio networking