A/V RESOURCE PAGE
This page contains useful content and links related to our transition from an analog to digital console.
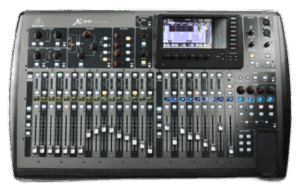
Behringer X32 Digital Console Overview
The Behringer X32 is a versatile and powerful 32-channel digital mixing console designed for live sound, recording, and broadcast applications. Key Features include:
40 input channels with 32 XLR mic preamps
25 mix buses, including 16 configurable mix buses, 6 matrix buses, and main LCR
25 motorized 100mm faders for tactile control
Built-in effects engine with 8 stereo FX slots
Remote control via iPad/iPhone app and Ethernet connectivity
USB interface for multitrack recording/playback
Assignable controls and color display for intuitive navigation
Getting Started with Your Behringer X32
First Steps on the X32
Gain - Audio 101
Gain is the control that sets how much of your mic or instrument’s signal gets into the mixer.
It’s the first adjustment in the signal chain—before EQ, compression, effects, or volume faders. The Real Purpose of Gain is to Optimize signal-to-noise ratio: You want the cleanest, strongest signal without distortion.Signal-to-noise ratio is a measure of how much useful audio signal you have compared to unwanted background noise.
- Signal = the sound you want (e.g., voice, instrument)
- Noise = the sound you don’t want (e.g., hiss, hum, interference)
It’s usually expressed in decibels (dB). Higher SNR = cleaner sound. Lower SNR = noisy sound.
- Gain Best Practices
Gain
Audio 101: What is Gain? (Preamp / Headamp Explained with X32)
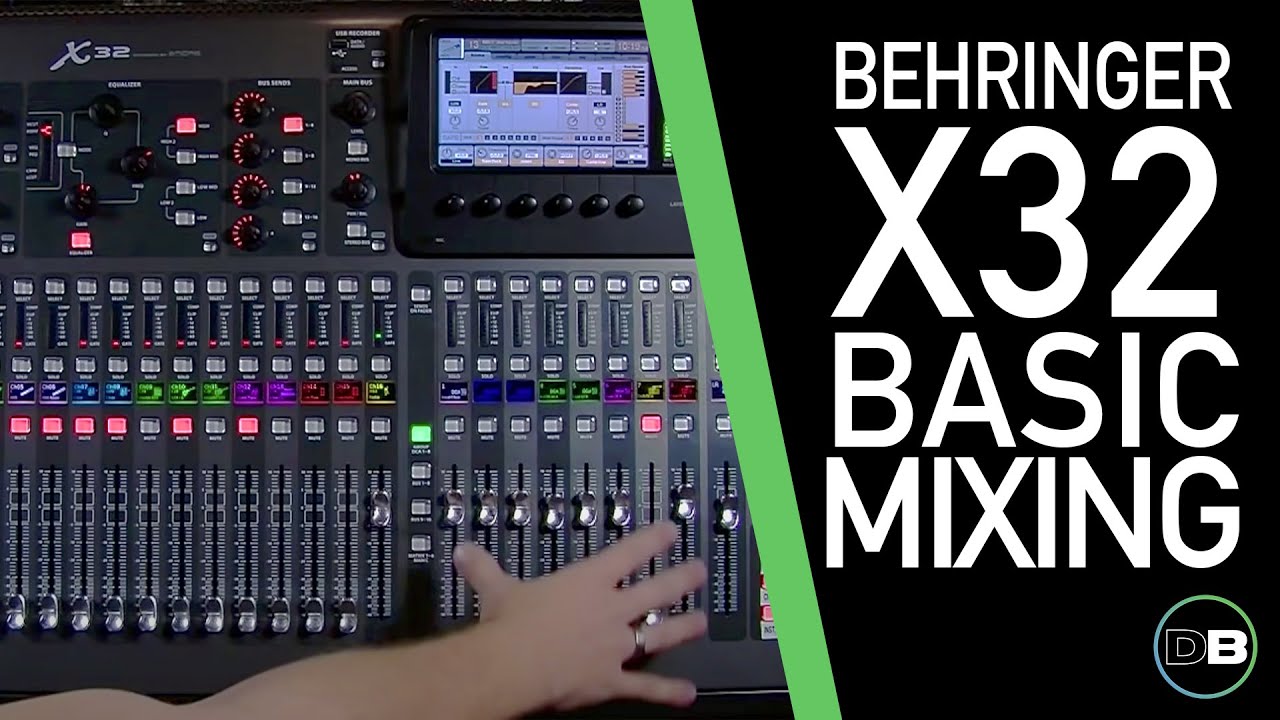
Basic Mixing
This will train sound techs on the basics of using the Behringer X32. Using these videos will give a good solid root to a new sound tech using this board
- Basic Mixing
- Monitor Mix
- Vocal EQ/Compressor
- Pastor’s Mic
Basic Mixing
Behringer X32 - Basic Mixing 101-1 - Intro & Layout


Routing
SOUND SYSTEM SIGNAL PATH – designed to capture, mix, and distribute audio for both the congregation and streaming or recording.
- Inputs (Sources): The sound begins with various sources, which often include a mix of the spoken word and music.
- Microphones: This is the primary input source. We have a variety of microphones for the pastor, worship leaders, choir, and musical instruments (e.g., drums, guitars, keys). Wireless microphones are common for the pastor to allow for freedom of movement.
- Direct Injection (DI) Boxes: Musical instruments like acoustic-electric guitars, keyboards, or bass guitars are connected to a DI box. This converts the instrument’s signal to a balanced, low-impedance signal that can be sent over long cables to the mixer without a significant loss of quality or introduction of noise.
- Pre-recorded Material: Audio from sources like a computer (for backing tracks or videos) or a media player is also fed into the mixer.
- Mixer (Console): All the signals from the inputs are sent to the mixer, which serves as the central control point.
- Preamps: The first stage on the mixer is the preamplifier, which boosts the weak microphone signals to a line level. This is a critical step for getting a clean, strong signal.
- Channel Processing: The mixer’s channels allow for individual control of each input. You can adjust the gain, apply equalization (EQ) to shape the tone, and use dynamics processors like compressors to even out the volume.
- Routing: The mixer routes the signals to various destinations, including the main speakers, stage monitors, and other outputs.
- Buses and Outputs: The signals are routed from the channels to different buses for specific purposes.
- Main Left/Right (L/R) Bus: This is the main mix that is sent to the front-of-house (FOH) speakers, which the congregation hears.
- Auxiliary (Aux) Buses: These buses are used for creating dedicated monitor mixes for the musicians on stage. They are also used to send signals to effects units (like reverb) or to a separate mix for a “cry room” or foyer.
- Matrix Outputs: In more complex setups, matrices are used to create customized mixes from the buses. This is useful for things like a live stream feed, which often requires a different balance than the main house mix, or for sending a specific mix to different zones within the building.
- Amplification and Speakers: The final signals from the mixer’s outputs need to be amplified to be heard.
- Power Amplifiers: The main L/R signal is sent to a power amplifier, which boosts the signal to a level strong enough to drive the main speakers.
- Loudspeakers: The amplified signal is sent to the loudspeakers
CHANNELS, BUSES, DCAs, AND MATRICES – Essential tools for managing and routing audio signals on a mixer.
- Channels: This is the beginning of the signal path. Each channel on a mixer is a dedicated path for a single audio source, such as a microphone or an instrument.
- Buses (or Sends): A bus is a pathway or a grouping point where you can send the signals from multiple channels. Instead of having to control 10 different drum mics individually, for example, you can send all of them to a single “drum bus.” This allows you to process and control the entire drum kit with a single fader, EQ, or compressor.
- DCAs (Digitally Controlled Amplifiers): A DCA is a remote control for a group of channel faders. Unlike a bus, a DCA does not actually sum the audio signals together. Instead, when you move a DCA fader, it simply tells all the assigned channel faders to move by the same amount. This is useful for managing the overall level of a group of instruments without changing the relative mix you’ve created within that group.
- Matrices: A matrix is a “mix of mixes.” It takes its input from buses (or sometimes individual channels on digital consoles) and allows you to create new, customized mixes for different destinations. Matrices are typically used for a variety of outputs, such as sending a specific mix to different speaker zones (e.g., main PA, a balcony, or a lobby) or creating a dedicated feed for a recording device or a broadcast stream.
Order of Setup
The signal path determines the logical order in which these components are set up. Work from the individual sound sources outward to the final outputs.
- Channels: This is always the first step. You connect your microphones and instruments to the input channels and set the initial gain staging for each source. You will then adjust the EQ and dynamics for each individual channel to get the best possible sound from that source.
- Buses: After you have your individual channels sounding good, you can begin to group them. You’ll assign related channels (like all the vocals, all the drums, or all the guitars) to their respective buses. This allows you to manage and process these groups as a single entity. You can also set up your auxiliary buses for monitor mixes or effects sends at this point.
- DCAs: With your channels and buses set up, you can now use DCAs for high-level control. You’ll assign the appropriate channels to DCAs (e.g., all vocal channels to a “Vocal DCA,” all drum channels to a “Drum DCA,” etc.). This step is not about routing audio but about providing a convenient way to manage the overall levels of your grouped instruments.
- Matrices: The final step is to set up your matrices. You will use the outputs of your buses (such as your main Left/Right bus or subgroup buses) as the inputs to your matrices. From there, you can create unique mixes for various outputs, such as front fills, side-fills, or a recording feed.
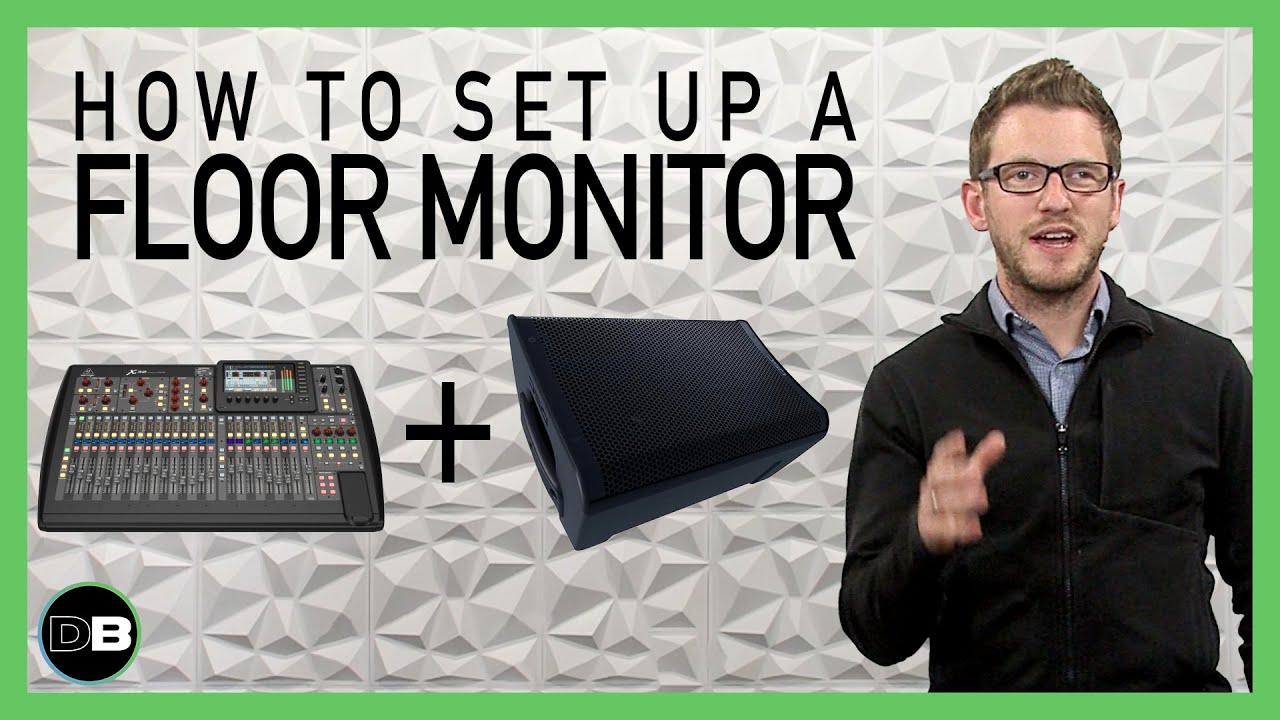
Monitor Setup
Connecting a digital mixing console, stage box, amplifier, and floor monitors is a fundamental setup for live sound. Here’s a step-by-step guide to get you up and running.
🔌 Connecting the Digital Console and Stage Box
Your digital mixing console and stage box are the heart of the system. The stage box, often placed on or near the stage, acts as a remote input/output (I/O) unit. It has XLR inputs for microphones and instruments and outputs for your monitors and main speakers.
- Connect with a Single Cable: Most modern digital mixers and their companion stage boxes use a single Ethernet-style cable (Cat5e or Cat6) to transmit multiple channels of digital audio.
- Use the Correct Protocol: Make sure the stage box and mixer use the same digital audio protocol, such as AES50 .
- Power On and Sync: Plug in the power for both the console and the stage box. They should automatically establish a connection, and the console will recognize the stage box’s inputs and outputs. Check your console’s screen or a status light on the stage box to confirm a successful connection.
🎧 Routing to the Floor Monitors
Once the stage box is connected, you can route individual signals to the floor monitors so performers can hear themselves.
- Auxiliary Sends: Floor monitors are typically fed from the console’s auxiliary sends (often called “aux sends” or “mix buses”). These outputs allow you to create a completely separate, custom mix for each monitor on stage.
- Pre-Fader Mode: Set your aux sends to pre-fader mode. This is crucial. It means the level of a channel sent to a monitor mix is independent of the channel’s main fader. You can adjust the volume of a vocal in the house mix (the main speakers) without changing the volume of that same vocal in the singer’s monitor.
- Console Routing: On your digital console’s screen or with its controls, assign a specific aux output to a physical output on the stage box. For example, you might route “Aux 1” to “Output 1” on the stage box.
🔊 Connecting the Amplifier and Floor Monitors
Passive (unpowered) floor monitors require an external power amplifier.
- Console to Amplifier: Run a balanced audio cable (usually an XLR) from the assigned aux output on your stage box to the input of your power amplifier. If you have two monitors for a stereo or two-mix setup, you’ll use two aux outputs and two amplifier channels.
- Amplifier to Monitors: Connect the amplifier’s speaker output to the floor monitor’s input. The most common connectors are Speakon or 1/4″ TS. Use a heavy-gauge speaker cable, not a standard instrument cable. Ensure you match the amplifier’s output impedance (measured in ohms) to the speaker’s impedance to prevent damage.
Adjust Levels: Start with the amplifier’s gain control at a low level. Turn up the master aux send on the digital mixer to a safe level, then slowly increase the amplifier’s gain until the monitor is at a usable volume. Fine-tune the mix for the performer using the individual aux send knobs on each channel.
🔊 How the Connection Works
A single cable serves as the delivery method for the amplified audio signal.
- Signal from the Console: The mixing console sends a low-voltage, line-level signal to the amplifier’s input.
- Amplifier’s Role: The amplifier takes that weak signal and dramatically increases its voltage and current. This gives it the power needed to drive a speaker.
- Speaker Cable’s Role: The single speaker cable then carries this now-powerful, high-current signal from the amplifier’s output to the speaker’s input.
Stage Box
A digital stage box expands the I/O of a digital mixer via AES50. Here’s an overview of what connects to its inputs and outputs:
🔌 Inputs (XLR)
- Microphones (vocals, instruments, podiums)
- DI boxes (for guitars, keyboards, etc.)
- Line-level sources (playback devices, wireless receivers)
These inputs send audio signals to the mixer over a single AES50 cable.
🎚️ Signal Flow with Passive Monitors
Microphones / Instruments →
Stage Box Inputs (XLR)
Captures audio signals on stageStage Box →
Digital Console via AES50
Transmits audio digitally to the mixerConsole Mix Bus / Matrix Out →
Console Output (XLR)
Sends processed monitor mixConsole Output →
Power Amplifier Input (XLR/TRS)
Amplifies the signalPower Amplifier Output →
Passive Wedge Monitor (Speakon/TS)
Delivers speaker-level signal
🔄 Summary
The stage box never sends audio directly to the amplifier or wedges. It’s a remote input/output unit that feeds the console, which then routes monitor mixes to amps and wedges.
Console Configuration
🛠️ Basic Configuration Steps
Connect Stage Box
- Use AES50 A or B port to link to digital stage box (e.g., S16, SD8).
- Power on stage box first, then X32.
Set Routing
- Go to Routing > Inputs: assign AES50 channels to console inputs.
- Go to Routing > Outputs: assign mix buses or matrices to physical XLR outs or AES50.
Configure Preamps
- Use Gain knob or Home > Preamp tab to set input levels.
- Enable phantom power for condenser mics as needed.
Assign Channels
- Label and color-code channels for clarity.
- Use Channel Strip section to adjust EQ, dynamics, and sends.
Set Up Buses
- Use Sends on Fader mode to mix monitors.
- Assign buses to outputs via Routing > Out 1–16 or AES50.
Save Scenes
- Go to Scenes > Save to store your configuration.
- Use Snippets for partial recalls (e.g., vocal EQ only).